How to Build a Custom Mechanical Keyboard Macro Pad

A cluttered desk holds a disassembled Logitech G915, a pile of loose Cherry MX Brown switches, and a tangled web of USB-C cables. This is the reality of modern peripheral customization. Most people buy a pre-built macro pad because it is easy, but they often end up with a plastic shell that feels hollow and a controller that lacks advanced firmware flexibility. This guide explains how to build a custom mechanical macro pad from the ground up, ensuring you control the hardware quality rather than settling for whatever marketing department decided was "good enough" for a mass-market consumer.
A macro pad is a specialized input device designed to execute complex key combinations or software commands with a single press. While many professionals opt for dedicated productivity controllers, building your own allows you to dictate the switch type, the casing material, and the exact logic of the microcontroller. Whether you need a dedicated volume knob, a dedicated "Mute" button for Zoom, or complex Photoshop macros, a custom build offers superior tactile feedback and long-term durability.
The Essential Component Checklist
Do not buy components based on aesthetics alone. In my experience testing consumer electronics, the most frequent failure point in custom builds is the quality of the soldering joints and the latency of the microcontroller. You need to source components that are reliable and compatible with open-source firmware.
- Microcontroller (The Brain): I recommend the Pro Micro or a Raspberry Pi Pico. These are small, inexpensive, and fully compatible with QMK or VIA firmware. The Pico is particularly robust for modern builds due to its higher clock speed and more available GPIO pins.
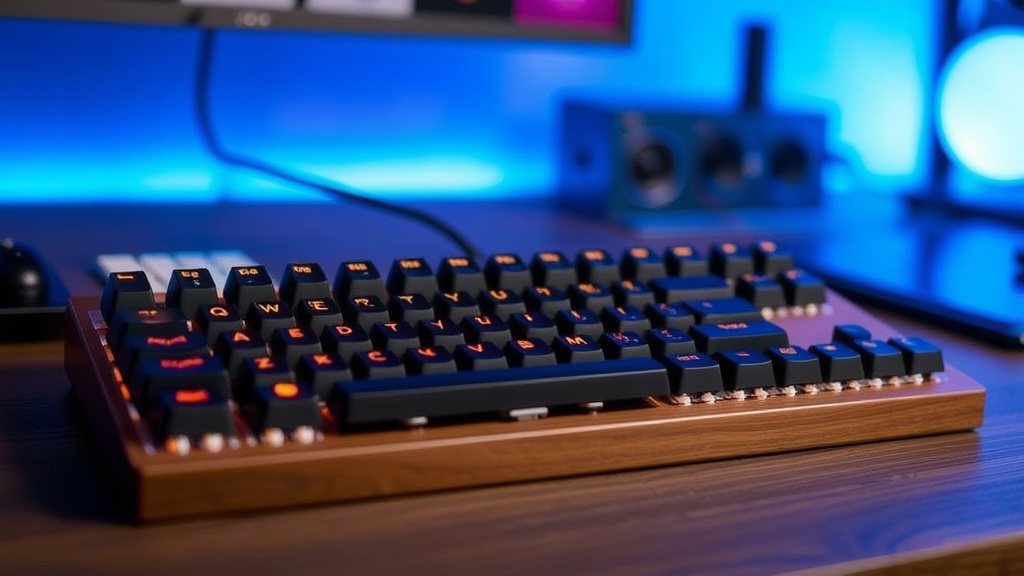
- Mechanical Switches: This is where most people cut corners. If you want longevity, look for high-quality switches like Gateron Yellows for a smooth linear feel, or Kailh Box Navies if you want a heavy, tactile click. Avoid "no-name" switches found on discount sites; they often suffer from inconsistent spring tension and high scratchiness.
- Keycaps: Look for PBT (Polypropylene Terephthalate) plastic rather than ABS. ABS keycaps develop a "shiny" greasy texture after only a few months of heavy use. PBT maintains its matte finish and texture much longer.
- The Case: You can 3D print a case, use a CNC-machined aluminum housing, or even use a small acrylic box. The case dictates the acoustic profile of your macro pad.
- Diodes (1N4148): These are critical. Each switch requires a diode to prevent "ghosting," which occurs when the controller gets confused by multiple simultaneous key presses.
- USB Interface: A USB-C breakout board or a direct solder connection to the microcontroller.
Step 1: Designing the Matrix and Circuitry
A macro pad is not just a single wire per button. To save GPIO pins on your microcontroller, you must build a "matrix." A matrix organizes your switches into rows and columns. For a 9-key macro pad, a 3x3 matrix is efficient. Instead of using 9 pins on your Raspberry Pi Pico, a 3x3 matrix only requires 6 pins (3 rows and 3 columns).
Before you touch a soldering iron, you must map out your connections. Use a tool like the KBD (Keyboard) layout editor to visualize how your rows and columns will intersect. You will be connecting the switches in a grid pattern where each switch acts as a bridge between a row wire and a column wire. This is where the 1N4148 diodes come into play. Each diode must be placed in series with each switch to ensure electricity only flows in one direction, preventing the signal from looping back through other rows or columns.
Step 2: Preparing the Hardware and Soldering
Lay out your components on a flat, non-conductive surface. If you are using a printed circuit board (PCB), ensure the traces are clean. If you are building a "hand-wired" pad (no PCB), you will be soldering wires directly to the switch pins and the diodes.
The Soldering Process:
- Mount the Switches: Place your switches into your case or onto your PCB. Ensure they are perfectly vertical. If a switch is tilted, the keycap will sit unevenly, and the tactile feedback will be ruined.
- Solder the Diodes: Solder one diode to each switch. Pay close attention to the polarity of the diode. The cathode (the side with the stripe) must point toward the row or column as specified in your matrix design. If you flip these, your keys simply won't work.
- Create the Rows: Run a solid copper wire (or a stripped strand of wire) across the pins of the switches in each row. Solder this wire to the end of the diodes.
- Create the Columns: Repeat this process for the columns, ensuring the column wires are separate from the row wires.
- Connect to the Microcontroller: Solder the final row and column wires to the designated GPIO pins on your Raspberry Pi Pico or Pro Micro.
Pro Tip: Use a flux pen before soldering. It makes the solder flow more predictably and prevents "cold joints," which are a common cause of intermittent connectivity issues in custom electronics.
Step 3: Programming the Firmware (QMK/VIA)
Once the hardware is assembled, the microcontroller is just a piece of silicon with no instructions. You need to flash firmware to tell it how to interpret the electrical signals from your matrix. I highly recommend using QMK (Quantum Mechanical Keyboard). It is the industry standard for a reason: it is incredibly stable and highly customizable.
To get started, you will need to set up a development environment on your computer. This usually involves installing a compiler or using a web-based configurator like QMK Configurator. You will define your "Keymap," which maps specific physical coordinates in your matrix to specific computer inputs (e.g., Ctrl+C, Volume Up, or a custom Macro string).
The Flashing Process:
- Compile the Code: This turns your human-readable instructions into a .hex or .bin file that the microcontroller can execute.
- Enter Bootloader Mode: Connect your macro pad to your computer. You will need to trigger the "Bootloader" on your Pico or Pro Micro—usually by shorting a specific pin to ground or pressing a reset button—to make the computer recognize it as a programmable device.
- Flash the Firmware: Use a tool like QMK Toolbox to upload your compiled file to the device. Once the progress bar reaches 100%, the device will reboot, and your hardware is now a functional keyboard.
Testing and Troubleshooting
Never assume your build works just because the computer recognized a USB device. You must perform a rigorous test of the matrix. Use a web-based key tester to press every single key. If a key doesn't register, check for three specific failures: a cold solder joint, a backwards diode, or a broken trace.
If you find that pressing one key triggers two different commands, you have a "ghosting" or "shorting" issue. This usually means a stray strand of wire or a blob of solder is bridging two different rows or columns. Disassemble the housing and inspect the wiring with a magnifying glass. In a high-quality build, there should be zero contact between adjacent traces except at the intended intersection points.
Final Assembly and Ergonomics
The final step is housing the electronics. If you are using a 3D-printed case, ensure the tolerances are tight. A loose-fitting case creates "rattle," which is a major detractor from the premium feel of a custom peripheral. If you want a heavier, more professional feel, consider using a weight or a metal plate between the switches and the bottom of the case. This adds mass, which dampens vibration and prevents the macro pad from sliding around your desk during intense workflows.
Once the case is closed, your custom macro pad is ready. You have bypassed the limitations of consumer-grade hardware and created a tool that is specifically tuned to your workflow. Whether it is for rapid-fire macro execution in gaming or streamlined shortcuts in professional software, your custom build will outlast any mass-produced alternative.
Steps
- 1
Choose Your Microcontroller and Switches
- 2
Assemble the PCB and Keycaps
- 3
Program the Firmware with QMK or VIA
- 4
Enclosure Assembly and Testing