Creating a Zero-Latency Gaming Network with Wired Ethernet and Managed Switches

You will learn how to eliminate network jitter and packet loss by transitioning from consumer-grade Wi-Fi to a professional-grade wired infrastructure utilizing Cat6a cabling and Layer 2 managed switches.
The fundamental problem with modern gaming setups is not the raw bandwidth provided by your ISP, but the inherent instability of the local area network (LAN). While marketing departments focus on "Gigabit speeds," they rarely mention the micro-stutters caused by bufferbloat, electromagnetic interference, or inefficient packet handling in unmanaged switches. To achieve a zero-latency environment, you must move beyond the "plug-and-play" mentality of consumer hardware and implement a structured, managed network architecture.
A professional gaming network requires three specific pillars: high-quality physical medium (cabling), intelligent traffic management (managed switches), and the elimination of wireless contention. This guide provides the technical specifications and configuration steps necessary to build this infrastructure.
1. The Physical Foundation: Why Cat6a Over Cat5e or Cat7
Most users default to whatever cable is in the box, but for a high-performance gaming network, the physical layer is where most failures occur. While Cat5e can technically handle 1Gbps, it lacks the shielding necessary to prevent crosstalk in high-density environments. I recommend Cat6a (Augmented Category 6) for all permanent runs.
Cat6a is superior for three specific reasons:
- Shielding: It features tighter twisting and often includes an overall shield that mitigates Alien Crosstalk (AXT), which is critical if your Ethernet runs are traveling alongside power lines or high-voltage AC cables.
- Frequency: It operates at a frequency of up to 500 MHz, providing a much higher signal-to-noise ratio than standard Cat5e or Cat6.
- Distance: It maintains 10Gbps speeds up to 100 meters, ensuring that even if you are running a long line from a basement server room to a second-story gaming rig, the signal integrity remains intact.
Avoid "Cat7" or "Cat8" cables found on many discount sites. Most of these are non-compliant, unshielded cables that use proprietary connectors, which can actually increase latency due to poor termination. Stick to certified, solid copper Cat6a. If you are running cables through walls, use shielded twisted pair (STP) to protect against electromagnetic interference from household appliances.
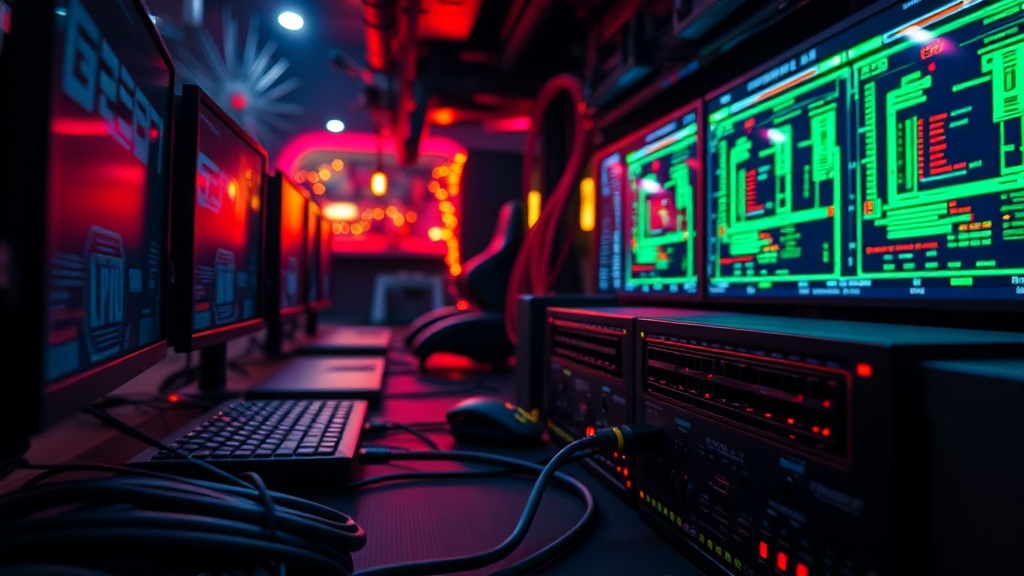
2. The Intelligence Layer: Implementing Managed Switches
An unmanaged switch is a "dumb" device; it receives a packet and broadcasts it to the destination without any consideration for priority. In a household where someone is streaming 4K video on Netflix while you are competing in a high-stakes match of Counter-Strike 2, the unmanaged switch will treat both streams with equal priority. This leads to bufferbloat—a phenomenon where your router's buffers fill up with video data, causing your gaming packets to wait in line, resulting in massive spikes in ping.
To solve this, you must use a Layer 2 Managed Switch (such as the Ubiquiti UniFi Switch series or a TP-Link JetStream). A managed switch allows you to implement Quality of Service (QoS) and VLANs (Virtual Local Area Networks).
Configuring Quality of Service (QoS)
QoS allows you to tell the switch that certain types of traffic are more important than others. In a professional setup, you should prioritize UDP (User Datagram Protocol) traffic. Most real-time gaming applications use UDP because it is faster than TCP, as it does not require the overhead of constant acknowledgment. By assigning your gaming PC's MAC address a high-priority queue, the switch will ensure your gaming packets are moved to the front of the line, even if the rest of the network is saturated.
Implementing VLANs for Network Isolation
One of the biggest sources of "ghost" latency is background noise from IoT devices. Your smart bulbs, smart fridges, and even your smart TV are often poorly optimized and can flood the network with unnecessary broadcast traffic. By creating a dedicated Gaming VLAN, you isolate your gaming rig and console from the rest of the household's "chatter." This ensures that a malfunctioning smart thermostat cannot impact your packet delivery.
3. Eliminating the Bottleneck: Router and Gateway Optimization
Even with a perfect switch, a weak router will act as a bottleneck. Most ISP-provided routers are engineered for basic web browsing, not high-frequency packet processing. If you are serious about low latency, you should use a dedicated wired router or a custom-built appliance running pfSense or OPNsense.
When configuring your gateway, focus on these three technical settings:
- Disable UPnP (Universal Plug and Play): While convenient, UPnP is a security risk and can cause unpredictable port mapping. Instead, use Manual Port Forwarding for your specific gaming consoles or PC. This ensures a direct, unobstructed path for incoming data.
- Enable SQM (Smart Queue Management): If your router supports it, enable SQM algorithms like Cake or FQ_CoDel. These algorithms are designed specifically to combat bufferbloat by managing the queue of packets so that no single stream can monopolize the bandwidth.
- Static IP Assignment: Assign a static IP to your gaming rig via your router's DHCP reservation system. This prevents any potential IP conflicts and ensures that your QoS rules remain tied to the correct device.
4. The Hardware Checklist: Essential Components
To build this network, you cannot rely on "gaming" branded peripherals that offer nothing but RGB lighting. You need industrial-grade or prosumer-grade networking gear. Below is a baseline specification list for a zero-latency build:
| Component | Recommended Specification | Reasoning |
|---|---|---|
| Cabling | Cat6a (Solid Copper, STP) | Reduces crosstalk and handles higher frequencies. |
| Switch | L2 Managed Switch (e.g., Ubiquiti UniFi) | Enables QoS, VLANs, and traffic prioritization. |
| Router | Dedicated x86 Hardware or pfSense Box | Handles complex SQM and high packet-per-second loads. |
| NIC | Intel Ethernet Controller | Superior driver stability and lower CPU overhead compared to Realtek. |
5. Stress Testing Your New Infrastructure
Once the hardware is installed, you must verify that your configuration actually works. Do not rely on a simple "Speedtest.net" run, as that only measures raw throughput, not stability. You need to test for jitter and packet loss under load.
The Bufferbloat Test: Use a tool like the Waveform Bufferbloat Test. This test will measure your latency while simultaneously saturating your upload and download bandwidth. If your ping jumps from 20ms to 200ms during the test, your QoS or SQM settings are not configured correctly.
The Ping Plotter Method: Run a continuous ping to a reliable server (like 8.8.8.8) using a tool like PingPlotter or the command line ping -t. Watch the results while your family or roommates are using the network heavily. You are looking for a flat line. Any "spikes" or "drops" in the graph indicate that your network is failing to prioritize your traffic effectively.
"The difference between a 'fast' network and a 'stable' network is often invisible to the average user, but in competitive gaming, that difference is measured in milliseconds and lost matches. Don't trust the marketing; trust the telemetry."
Building a zero-latency network is an exercise in precision. It requires moving away from the convenience of wireless and the simplicity of unmanaged hardware toward a system that is controlled, isolated, and prioritized. By investing in Cat6a, a managed switch, and an SQM-capable router, you are not just buying speed—you are buying consistency.
Steps
- 1
Selecting High-Quality Cat6 or Cat6a Cabling
- 2
Implementing a Managed Switch for Traffic Prioritization
- 3
Configuring Quality of Service (QoS) Settings on Your Router
- 4
Testing for Jitter and Packet Loss